
 Facebook
 X
X
 Pinterest
 Copy Link
8 Vegetables to Grow in Your Garden this Spring
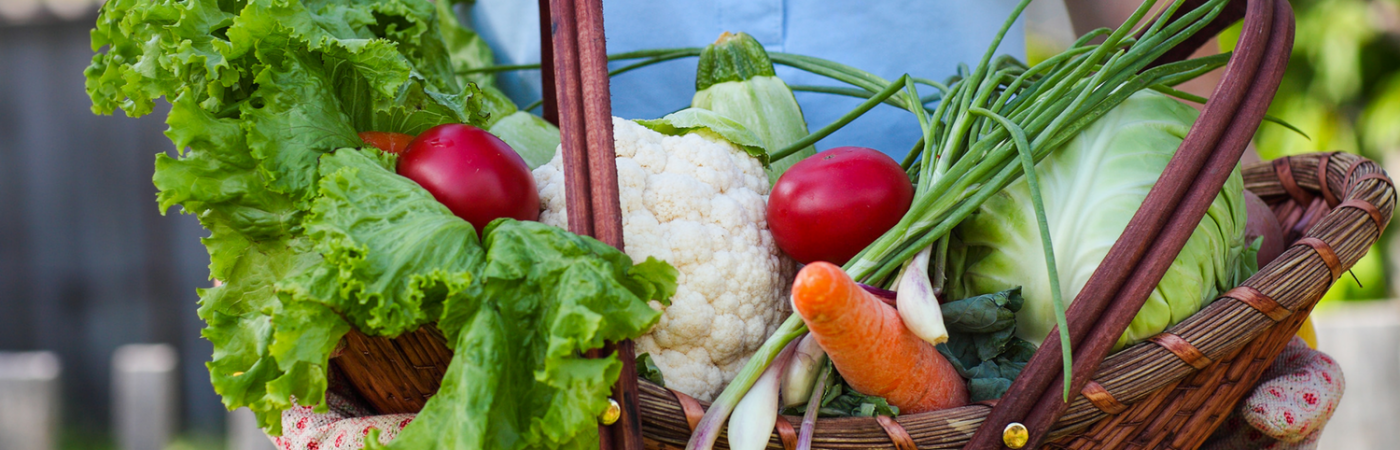
As the weather warms, you are no doubt yearning to be outside to get your hands working in the dirt again. If you have never tried gardening, spring is the perfect opportunity to give it a shot and plant your own vegetable garden. Growing your own vegetables is a great way to get some fresh air and exercise, and it also allows you to get the highest possible amount of nutrients from your food. Fresh vegetables are much healthier for you than those bought from the store, as they begin to lose nutritional value the longer they sit on a shelf.
Get your gardening gear out from storage. Here is a round up list of the easiest–and most practical–vegetables to grow in your garden.
1. Tomatoes
If you are new to gardening, tomatoes should absolutely be your first plant to try. Homegrown tomatoes, ripened in the sun, are a delicious addition to any meal. They are high in fiber, iron, magnesium, niacin, potassium, and several vitamins (including A and C). They are also one of the only sources of the beneficial antioxidant lycopene. If you’re just starting out or have limited space, try growing tomatoes in a container on your deck first. Usually, you can get by with just an 18-inch deep container. One plant will yield dozens of tomatoes throughout the season. Just remember that tomatoes like lots of sun and heat, so if you live in a colder area, it may take a little bit longer to get them growing.
2. Beans and Peas
Beans and peas are incredibly easy to grow. Depending on your preferences and your gardening space, you can choose to grow either bush or climbing varieties. Bush beans support themselves, while climbing or “pole” varieties need a stake or trellis to climb up on.
If you’re feeling extra organic, consider planting your beans and peas next to your corn. Beans fix nitrogen in the soil which aids the corn, and also use the stalk as a natural trellis. Both peas and beans are high in fiber, iron, potassium, and a wide range of vitamins. Plus, they continue to produce basket upon basket of delicious vegetables throughout the entire season.
3. Broccoli
Broccoli is a great vegetable to grow as it is one of the most nutritionally dense. It is high in crucial nutrients such as calcium, magnesium, iron, vitamin A, vitamin B6, and vitamin C.
Although broccoli can be grown in containers, it’s just as easy to plant it directly in the ground. It is commonly known as a cold-season crop, so it can withstand a light frost–and actually tastes better after doing so. Meaning, you can plant it when soil temperatures are still a bit chilly in early spring and keep it going long into autumn.
4. Peppers
There are dozens of varieties of peppers you can grow, but most of them are all cultivated in about the same way. Consider bell peppers for your first try at pepper planting. A cool feature of planting bell peppers is that you will have different types of peppers at every growing stage. Harvest them young for crunchy green peppers, or wait a few weeks to allow the sun to further ripen them into delicious red peppers.
Whichever type you choose, peppers are full of nutrients, such as riboflavin and potassium. They can also be planted in pots, but grow best directly in the ground. Like tomatoes, they like lots of heat. Make sure you plant them in a warm, sunny area.
5. Carrots
A word to the wise–if you have rocky or clay soils, consider planting carrots in a raised bed or container. Carrots like fertile, loose soil and need plenty of room to stretch out and extend their roots. Carrots are an icon of healthy eating and are high in vitamins A, B6, and C. Sow carrot seeds about two to three inches apart, and be sure to thin them as they form tops.
6. Leafy Greens
There are dozens of varieties of greens you can plant in your garden. Choose the one that best works for your climate and soil type. Popular varieties that tend to work almost anywhere include spinach and kale. Both are cold-season crops that can be started a bit earlier than other crops, and can be harvested continually throughout the year. As a bonus, once they begin to die back and your harvest dips, you can reseed over the existing plants to produce new, fresh plants. Regardless of the type of greens you plant, these are easy to grow and harvest and contain high amounts of iron, calcium, potassium, and vitamins.
7. Cucumbers
Make room for at least one cucumber plant in your garden this summer. Cucumber plants produce large quantities, all of which spiral out in spiky vines. They can spread up to twenty-five feet away, so make sure you have plenty of room. Whether you plant pickling or slicing cucumbers, you should plant about five seeds in 6-inch high hills, and then thin to the two strongest plants. These warm-season crops love heat, so consider planting them on top of a layer of black plastic to heat up the soil.
8. Zucchini
The last plant on our list is zucchini. Zucchini plants have a reputation for being prolific producers, developing so many fruits at a time. The roots of the plant need regular moisture, but besides that, this is a low-maintenance vegetable that will pump out a bumper crop with just a single plant. You can eat both the fruits and blossoms of these delicious giants. Like cucumbers, they prefer warm, moist soil, so the black plastic sheet method works well in this situation, too.
Growing your own vegetables is a noble task that can take very little time and skill. If you’re ready to start on your path to self-sufficiency, give these tasty plants a try this spring.
Container Gardening Upgrades for a Fresh Spring
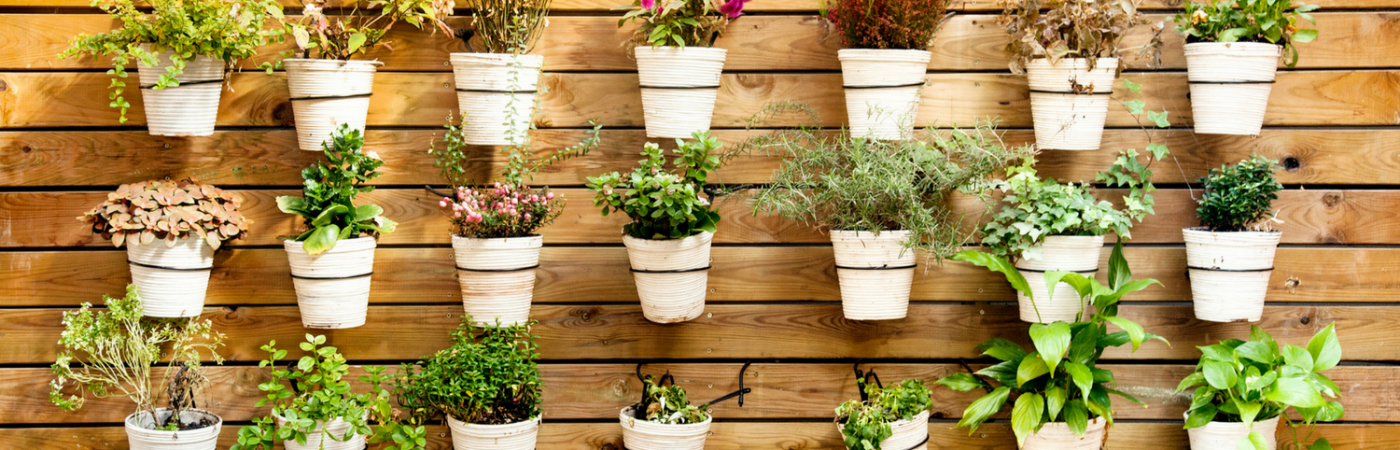
If you’re a gardener, you most likely have some old pots and containers in your garden shed or even your garage. And you probably didn’t get rid of them because you figured you might have a use for them eventually. While prepping for this spring, instead of buying replacements pots and containers, go through the ones you already have stored. With a little imagination and some supplies, your pots will look better than new in no time!
Clay Pots
A good clay pot can be expensive and if dropped, the fall can put a decent size crack in it. If it’s chipped or broken but is still durable, here’s what you can do to fix it:
- You’ll need all-purpose joint compound, spray paint or textured spray paint in a desired color, and fine-grained sandpaper. Clean off the damaged area with the sandpaper. Remove any loose clay as you’re sanding and carefully blow on it to remove the dust. This will let you get a good bond when filling it in.
- Next, using the joint compound, fill in the cracks using a popsicle stick, spreading both inside and outside the pot. Make sure the cracks are well-covered. It dries relatively fast, so spread and smooth it out as you go. It can also be sanded down later if it’s not super smooth. If needed, add more layers until it’s filled. Let it dry for 24 hours and run the sandpaper over it to smooth it out one last time.
- Seal the pot with the spray paint or textured spray paint, let dry, and it’s good to go.
Plastic Pots
Plastic pots are another type of container commonly used for gardening. The problem with these containers is that the weather can cause them to weaken, discolor, and sometimes crack. Have no fear, these containers can easily be fixed and your favorite plastic container can be used time and time again.
- For this you’ll need clear gorilla tape, spray paint, textured stone paint, and fine-grain sandpaper. First, lightly sand all the areas which you’re planning to tape, so the tape has a good grip when applied. Be sure to remove all the dust from the surface of the pot. If you don’t, when you use the gorilla tape, it will form bubbles because it won’t seal. If you apply some rubbing alcohol before applying the tape, the surface will be clean.
- Next, tape both sides of the crack with strips of gorilla tape. Rub it firmly to get a good seal but don’t use more tape than you need. For edges or curves, use small pieces, that can overlap about a ¼ inch. Try to avoid forming air bubbles.
- Finally, spray the pot with the base paint and then spray it in thin layers with stone texture paint. Allow each coat to dry thoroughly. If the paint bubbles, let the paint cure for 24 hours. Spray it with the textured paint if desired for a different look.
Repurpose With a New Design
You can also repurpose an old pot with designs, like adding a mosaic design. You’ll need a terracotta pot, some broken tile pieces, pot shards or vase filler chips, spray paint and glue. Paint the pot with the spray paint and let dry, then gently glue the tile, shards or chips on one by one in the design of your choice.
You can also add a new design by using lace on a pot or container. All you’ll need is lace of the color of your choice and transparent adhesive. Varnish the pot with the adhesive and paste the lace over it. Let dry and use as desired.
As you can see, upgrading your container and pots for spring can be both fun and easy. What ways have you revamped old containers?
Source: CB Blue Matter Blog
Home Projects Under $300 Guests Will Notice
What can you afford that will make a big impression? There are plenty of ways to upgrade your home design with a small budget.
Guest post by Lauren White
Family is coming into town and you’re thinking, what have I done with this place? Will they notice that you’ve changed the furniture layout in the living room? Or that you updated to LED light bulbs? What can you afford that will make a big impression? There are plenty of ways to upgrade your home design with a small budget. For less than $300, you can have a plank wall, a brick fire pit and more.
Barn Doors
This door style is a classic trend and looks much more expensive than it usually is. Your guests will notice this practical upgrade, and it will improve the style and design of any space. Replace a bedroom or bathroom door with a barn door of any style for less than $300. If you have more room in your budget, you can replace bifold closet doors with bypass barn doors.
Plank Wall
A plank wall can instantly create a designer look in your home. It is a much-desired trend with two important barriers: real wood is heavy and expensive. Innovation in wood materials has changed the game, however. Laminate wood planks and shiplap can keep your cost between $200 and $300. You have as many options as with real wood, from color to grain, and the materials are easier to install.
Crown Molding
This seemingly minor detail can make a room feel more complete and polished. It breaks the “standard” appearance of walls and ceilings. You can have crown moldingin every room of your house for less than $300 if you put the work in yourself. Intimidated by the idea of getting all those edges, right? Materials like polystyrene and polyurethane are easier to work with than solid wood and cost as little as $1/sq. ft.
Water Filter
Guests won’t notice this detail at first, but they are certain to be impressed when you offer them a glass of water from your filtered tap. Clean tap water is harder to come by with every year. This investment goes beyond improving appearances and will benefit you every day. The best under-sink models range in cost from $75-$450.
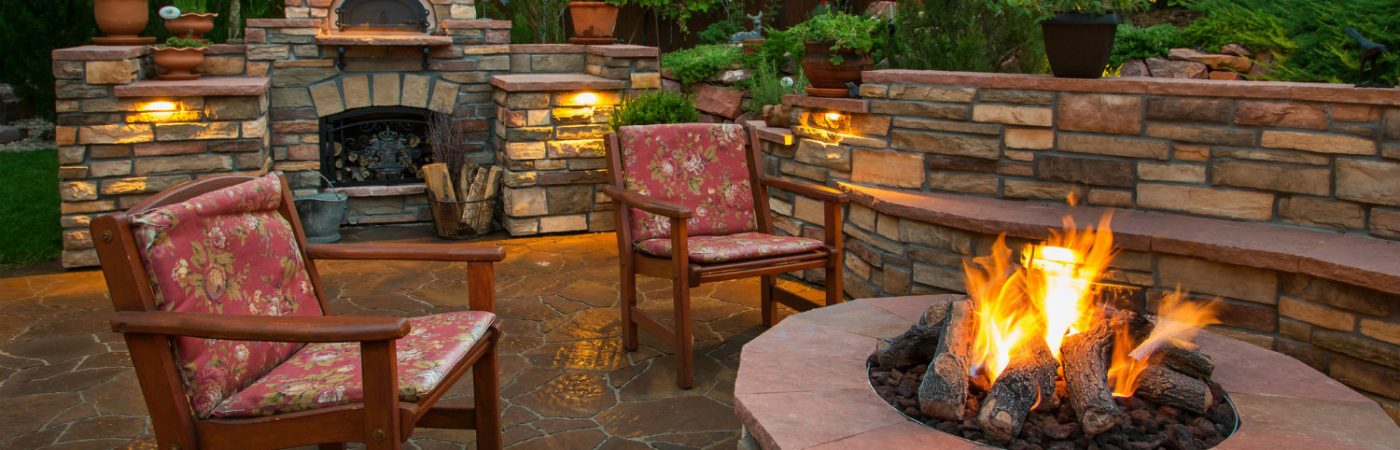
Fire Pit Area
You can keep your costs extremely low with this feature by purchasing a pre-fab fire pit for $30-$100. However, for around $150-$300, you can build a gorgeous brick fire pit. Keep in mind that any old brick won’t do for the interior portion of your pit. Fire bricks should be used on the inside, as they are designed to withstand heat.
New Paint
Fresh paint is a classic way to switch up or improve your design. You have the option of creating new accent walls, brightening or darkening a space and harmonizing color schemes with your furniture and decor. With time, patience and trusty painter’s tape, you can paint the interior of your home for $200-$300.
It’s surprising how much you can accomplish with such a small budget. Rather than buy a new couch table or plate set, consider these noticeable home improvements. They’ll take less time and money and will have your guests thinking you’ve been hard at work.
Learn more about the costs provided above at HomeAdvisor’s True Cost Guide.
Lauren White is a freelance writer who enjoys reading, hiking and traveling. She can usually be found on an outdoor adventure with her boyfriend and little sister on the weekends.
References
https://www.homestratosphere.com/smart-home-remodeling-ideas-on-a-budget/
https://www.thisoldhouse.com/ideas/21-quick-and-easy-budget-upgrades
https://www.quickstepstyle.com/diy-home-projects/diy-accent-walls/
https://www.homeadvisor.com/cost/walls-and-ceilings/crown-molding-installation/#material
https://www.consumerreports.org/cro/water-filters/buying-guide
https://www.fixr.com/costs/fire-pit
https://www.homeadvisor.com/cost/painting/paint-a-home-interior/#DIY
Source: CB Blue Matter Blog

")


